

As a small note in association with my another post of mine on trailing zero dimensions, I thought it would be handy to suggest how to set up a new text style.
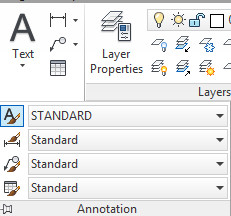
If you go to the Annotation panel under the Home tab on the Ribbon and click on the drop down you will get a list of current styles for text, dimensions etc. Click on the text style button and you will get the text style dialog box. This can also be found under the format menu or by typing STYLE.
You will be presented with a STANDARD style in the box. PLEASE DO NOT EDIT THE STANDARD STYLE! I cannot emphasise this enough. If you copy and paste from one drawing to another where someone has edited the standard style, everything pasted will change, this includes dimenions based on the style etc. Just don’t do it!
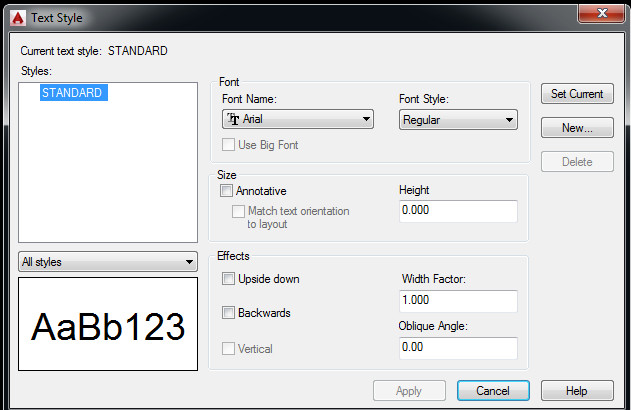
So now, lets create a new style. I am going to call it Adams – Standard. Very orginal, but this should be descriptive or where it came from. Company name followed by a hypen and then sub-categories is a good way to go. E.g. ‘Adams – Standard’, ‘Adams – Dimensions’ (if different) or ‘Adams – title text’ are good places to start. For now everything will be based on one style to keep it simple.
Once you have clicked New, then entered the name, now we can change the settings. These are the defauly settings for the style. I am going to use Arial and leave it at normal.
Other settings include height, whether it is annotative (paper space height) or what angle it is at.
Most should be left alone:
– Height should be set to 0 if you are going to be using this style with a dimension style.
– Width factor should be set to 1, unless you want to have stretched out text (note this is not kerning but is just stretching the text).
